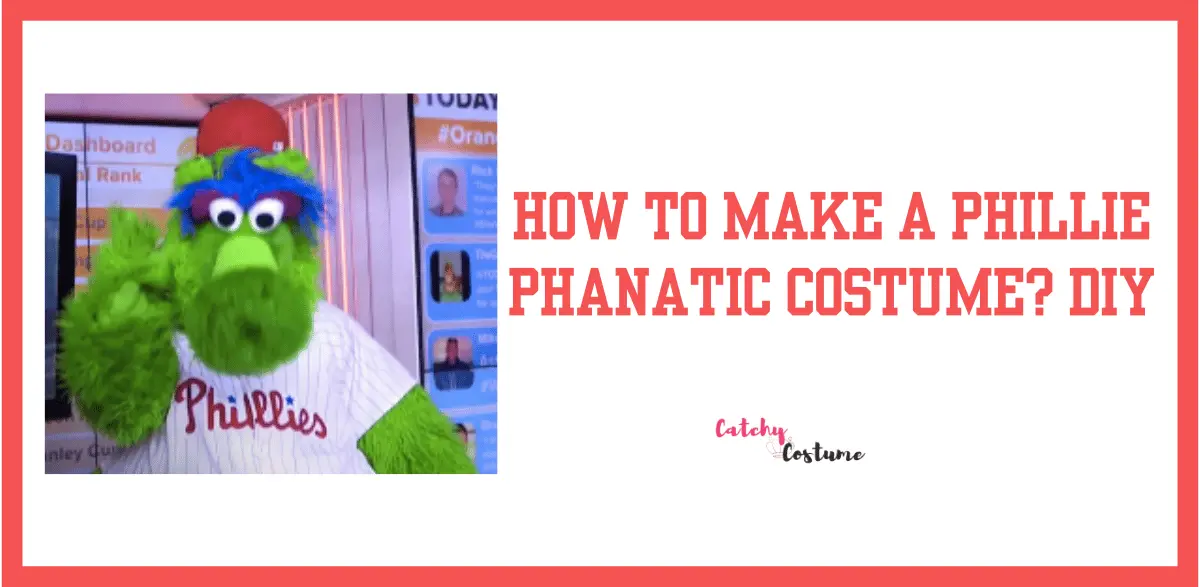
To make a Phillie Phanatic costume, start with a Grinch suit and modify as needed—create a belly using a pipe hoop filled with fluff and covered with fur, topped with a blue feather. Mold the head out of chicken wire and a small megaphone, cover it in fur and add details using feathers and model magic.
Let’s explore all the steps of learning to make a Phillie Phanatic costume.
How To Make A Phillie Phanatic Costume: Materials Needed
Creating your very own Phillie Phanatic costume can be a fun and exciting project. To bring this beloved mascot to life, here are the materials you’ll need:
Furry Green Fabric
One of the most essential materials for your Phillie Phanatic costume is the furry green fabric. This is what will give your costume that iconic, fluffy appearance. Look for a fabric that is vibrant green and has a soft, furry texture.
Note: You can find this fabric at your local craft store or online.
Foam Sheets
Another important material for your costume is foam sheets or foam padding. These will be used to create various parts of the costume, such as the Phanatic’s round belly and protruding eyes. Foam sheets are lightweight and easy to work with, making them ideal for costume making.
Hot Glue Gun
A hot glue gun is a must-have tool for assembling your Phillie Phanatic costume. It will be used to attach various parts together, such as the foam sheets and fur fabric. Make sure to use a high-temperature hot glue gun for a strong and durable bond.
Scissors
Scissors are an essential tool for cutting and shaping the fabric and foam. Make sure to have a pair of sharp scissors specifically for this project, as they will make the cutting process easier and more precise.
Elastic
Elastic is needed to create comfortable and secure attachments for your costume. It can be used to fasten the costume around your body or to secure specific parts, such as the headpiece. Look for elastic that matches the color of your fabric.
Sewing Machine (optional)
If you have access to a sewing machine, it can be useful for certain parts of the costume that require sewing. However, it is not essential as you can use hot glue or hand stitch to assemble the costume.
With these materials at hand, you are ready to start creating your very own Phillie Phanatic costume. Let’s dive into the step-by-step process to bring this beloved mascot to life!
How To Make A Phillie Phanatic Costume: Creating The Body
Now that you have gathered all the necessary supplies to make your own Phillie Phanatic costume, it’s time to start creating the body. This section will guide you through the steps of measuring and cutting the green fabric, sewing or gluing it together to create a body suit and adding a zipper or Velcro for easy wear.
Measure And Cut The Green Fabric To Fit Your Body
The first step in creating the body of your Phillie Phanatic costume is to measure and cut the green fabric to fit your body. You’ll want to start by measuring your body from your shoulders down to your desired length for the costume. Make sure to add a few inches to allow for seam allowance and movement.
Once you have your measurements, lay the green fabric out on a flat surface and use a measuring tape to mark the appropriate length. Then, using fabric scissors, carefully cut along the marked line. Remember to cut two pieces of fabric, one for the front and one for the back of the body suit.
Sew Or Glue The Fabric Together To Create A Body Suit
After you have cut the green fabric to fit your body, it’s time to sew or glue the fabric together to create a body suit. If you have basic sewing skills, you can use a sewing machine and matching green thread to sew the front and back pieces together. Start by placing the pieces’ right sides together and using a straight stitch to sew along the sides and shoulders.
If sewing isn’t your thing, you can also use fabric glue to attach the front and back pieces together. Simply apply a thin line of fabric glue along the edges of the fabric and press them together firmly. Allow the glue to dry completely before moving on to the next step.
Add A Zipper Or Velcro At The Back For Easy Wear
Once you have sewn or glued the fabric together to create the body suit, it’s time to add a zipper or Velcro at the back for easy wear. This will allow you to easily put on and take off the costume without any hassle.
If you choose to add a zipper, measure the length of the opening at the back of the body suit. Then, purchase a zipper that matches the length and sew it in place using a zipper foot on your sewing machine. Make sure to secure the ends of the zipper with a few stitches to prevent it from coming undone.
If you prefer to use Velcro, measure and cut two strips of Velcro that are long enough to cover the opening at the back of the body suit. Attach one piece of Velcro to the inside of the fabric and the other piece to the outside, making sure they align when closed. You can use fabric glue or sew the Velcro in place for added durability.
Once you have added the zipper or Velcro, your Phillie Phanatic body suit is complete and ready to wear. Now, it’s time to move on to the next step of making the costume – creating the head.
How To Make A Phillie Phanatic Costume: Making The Head
Creating the head of the Phillie Phanatic costume is a crucial step in bringing this beloved mascot to life. Follow these steps to create an accurate and comfortable headpiece that will complete your costume. |
Use Foam Sheets To Create The Shape Of The Phanatic’s Head
To start, gather foam sheets in the colors needed for the head of the Phillie Phanatic costume. Green foam sheets work best for the main part of the head, while white foam sheets are ideal for any facial details.
- Start by measuring and cutting the green foam sheets into a large oval shape, which will create the base of the head.
- Use additional foam sheets to build up any desired features, such as the Phanatic’s distinctive snout or cheeks.
- Secure the foam sheets together using a strong adhesive, making sure the shape remains stable and cohesive.
Cut Out The Eyes And Mouth Using A Sharp Knife Or Scissors
Once the basic shape of the head is complete, it’s time to add the eyes and mouth to give the Phanatic its signature expression. Use a sharp knife or scissors to cut out these features from the foam carefully.
- For the eyes, measure and mark the desired size and shape. Then, make precise cuts along these marks, ensuring the eye openings are large enough for clear vision.
- Next, create the mouth by cutting out a wide, smiling shape. This can be a challenging step, so take your time and make incremental cuts until the desired mouth shape is achieved.
Attach Elastic To Fit It Snugly On Your Head
Lastly, it’s important to secure the headpiece comfortably on your head. This will ensure that it stays in place while you wear the costume and allows for easy removal when needed. Follow these steps to attach elastic to the headpiece:
- Measure the circumference of your head, just above your ears, using a flexible measuring tape.
- Cut a piece of elastic slightly shorter than this measured length, ensuring a snug fit.
- Attach one end of the elastic to each side of the headpiece, using a strong adhesive or sewing it in place. Make sure the elastic is securely fastened but still comfortable to wear.
By following these steps, you will create a headpiece that captures the essence of the Phillie Phanatic and completes your costume. Now, you’re ready to move on to the next steps to complete the rest of the costume and bring this legendary mascot to life.
How To Make A Phillie Phanatic Costume: Adding The Features
Now that you have the basic structure of the Phillie Phanatic costume built, it’s time to add the key features that will bring this beloved mascot to life. T
his includes the eyebrows, beak, and horns. Follow the steps below to add these features:
Cut Out Foam Pieces For The Eyebrows, Beak, And Horns
The first step in adding the features is to cut out foam pieces for the eyebrows, beak, and horns. Use a marker to trace the shapes of each feature onto the foam and then carefully cut them out using a pair of scissors. Make sure to cut out two identical pieces for the eyebrows and horns and a single piece for the beak.
Glue These Features Onto The Head Using A Hot Glue Gun
Next, it’s time to attach the foam features to the head of the costume. Grab your hot glue gun and carefully apply hot glue to the back of each foam piece. Start with the eyebrows, positioning them above the eyes to give the costume its characteristic expression. Press the foam firmly onto the head, making sure it adheres securely.
Once the eyebrows are in place, move on to the beak. Apply hot glue to one side of the beak foam piece and carefully position it on the front of the head, just below the eyes. Press it down firmly, holding it in place until the glue dries and the beak is secure.
Finally, it’s time to add the horns. Apply hot glue to one side of each horn foam piece, one at a time. Position the horns on the sides of the head above the ears and press them firmly in place. Hold each horn for a few seconds to ensure it sticks properly.
And voila! You have now successfully added the key features to your Phillie Phanatic costume. The eyebrows, beak, and horns are what make this costume instantly recognizable and bring it to life. Now it’s time to move on to the final touches and details to complete your transformation into the lovable mascot.
How To Make A Phillie Phanatic Costume: Making The Arms And Legs
Creating the arms and legs for your Phillie Phanatic costume is an important step in bringing this iconic character to life. To start, you’ll need to cut out long strips of fabric that will become the arms and legs of your costume.
Cut Out Long Strips Of Fabric For The Arms And Legs
To begin, measure the desired length for both the arms and legs of your costume. Once you have the measurements, use a pair of fabric scissors to cut out long strips of fabric that are wide enough to wrap around your entire limb. Be sure to cut enough strips to create two arms and two legs.
Sew Or Glue The Fabric Into Tube Shapes
Once you have all of your fabric strips cut out, it’s time to sew or glue them into tube shapes. If you have basic sewing skills, you can use a sewing machine or hand stitching to create the tubes. Simply fold the fabric in half lengthwise, with the right sides facing each other, and sew along the open edge. If you prefer not to sew, you can also use fabric glue to secure the edges together and create the tubes.
Attach Elastic At The Ends To Secure Them To Your Arms And Legs
After you have sewn or glued the fabric strips into tube shapes, you’ll need to attach elastic at the ends to secure them to your arms and legs. Measure the circumference of your limbs, and cut two pieces of elastic for each arm and leg. Attach one end of the elastic to the top opening of the tube and secure it with stitching or glue. Make sure the elastic is tight enough to hold the tubes in place but not too tight that it constricts your movement.
And there you have it! Your arms and legs for your Phillie Phanatic costume are now complete. You can easily attach them to your arms and legs by slipping them on like a sleeve and securing them with elastic bands. With the arms and legs done, you’re one step closer to becoming the lovable Phillie Phanatic!
How To Make A Phillie Phanatic Costume: Adding The Details
Learn how to make a Phillie Phanatic costume with this DIY guide. Get creative by using materials like fur, feathers, and model magic to bring the mascot to life. Follow the step-by-step instructions to create an authentic and eye-catching costume.
Now that you have created the base of your Phillie Phanatic costume, it’s time to add the details that will bring this iconic character to life. These details will make your costume stand out and ensure that everyone recognizes you as the beloved mascot of the Philadelphia Phillies. Let’s dive into the steps to add the finishing touches to your costume.
Use Markers Or Paint To Draw On The Phanatic’s Facial Details
One of the most important aspects of the Phanatic’s look is his unique facial features. To achieve this, you can use markers or paint to draw on the Phanatic’s face onto your costume. Start by outlining the large oval-shaped eyes with bold black lines. Fill them in with a bright white shade to make them pop. Next, use a bright green color to add the Phanatic’s signature eyebrows and nose. Lastly, use a darker shade of green to create his wide smile and extendable tongue. Don’t forget to add a touch of orange to the tip of his tongue to complete the look.
Add Feathers Or Fur To The Body For A More Realistic Look
To elevate the realism of your Phillie Phanatic costume, consider adding feathers or fur to the body. This step will give your costume a lifelike appearance and mimic the Phanatic’s fluffy green feathers. You can achieve this by attaching faux feathers or fur using fabric glue or sewing them onto the base. Make sure to cover the entire body, including the arms and legs. Additionally, using different shades of green can add depth and dimension to your costume, making it even more eye-catching.
- Use markers or paint to draw on the Phanatic’s facial details, including the eyes, eyebrows, nose, smile, and tongue.
- Add feathers or fur to the body, covering the entire costume for a more realistic look.
By following these steps, you’ll be able to add the perfect details to your Phillie Phanatic costume, capturing the spirit and essence of this beloved character. Now, it’s time to step into the spotlight and show off your impressive costume at your next Halloween party or Phillies game.
How To Make A Phillie Phanatic Costume: Completing The Costume
Learn how to create a Phillie Phanatic costume with this DIY guide easily. From the furry green body to the extendable tongue, you’ll have the perfect outfit for any Phillies game or Halloween party. Get creative and bring the iconic mascot to life!
Put On The Body Suit, Headpiece, Arms, And Legs
To complete your Phillie Phanatic costume, start by putting on the body suit. The body suit is the foundation of the costume and typically comes in a green color to match the Phanatic’s iconic look. It should fit snugly but comfortably, allowing you to move and dance freely. Make sure to adjust the suit so that it covers your entire torso and fits properly.
Next, put on the headpiece. The Phillie Phanatic’s head is one of its most recognizable features, so it’s important to get this part right. The headpiece is typically a large, plush green mask that covers your entire head. It should have eye holes for visibility and a mouth hole for breathing.
Once the body suit and headpiece are on, it’s time to add the arms and legs. The arms and legs are usually separate pieces that you can slip on over your own arms and legs. They should match the green color of the body suit and be proportionate to the Phanatic’s cartoon-like appearance. Adjust them as necessary for a comfortable fit.
Make Any Necessary Adjustments For Fit And Comfort
After putting on the different pieces of the costume, take a moment to assess the fit and make any necessary adjustments. The costume should fit comfortably without being too tight or restrictive. If the body suit, headpiece, arms, or legs feel uncomfortable or too loose, consider adding some padding or making alterations to ensure a better fit.
Additionally, make sure the headpiece allows for adequate visibility and breathing. You want to be able to see where you’re going and breathe easily while wearing the costume. If necessary, modify the headpiece to improve your comfort and safety.
Practice Your Phanatic Moves And Have Fun!
Now that you’re fully dressed in your Phillie Phanatic costume, it’s time to channel your inner Phanatic and practice your moves. The Phanatic is known for his energetic dances, comedic antics, and interactions with fans. Watch videos of the Phanatic in action to get inspiration and try to mimic his signature moves.
Remember to have fun with it! The Phanatic is all about bringing joy and entertainment, so embrace the role and let your personality shine. Interact with others, spread cheer, and bring smiles to people’s faces.
In conclusion, completing your Phillie Phanatic costume involves putting on the body suit, headpiece, arms, and legs, making any necessary adjustments for fit and comfort, and practicing your Phanatic moves. With attention to detail and a playful attitude, you’ll be ready to embody the one and only Phillie Phanatic.
Frequently Asked Questions Of How To Make A Phillie Phanatic Costume?
1. What materials do I need to make a Phillie Phanatic costume at home?
Answer: Crafting your own Phillie Phanatic costume is a fun project! You’ll typically need materials like green faux fur, foam for the body structure, a baseball cap, felt for facial features, and a hot glue gun. Detailed instructions and patterns are often available online to guide you through the process.
2. Is it challenging to create the distinctive Phillie Phanatic headpiece?
Answer: While the Phillie Phanatic headpiece is a distinctive feature, it can be crafted with some patience and creativity. Using foam or lightweight materials, you can sculpt the iconic nose, eyes, and facial expressions. Online tutorials often provide step-by-step instructions to ensure your headpiece captures the essence of the beloved mascot.
3. Can I customize my Phillie Phanatic costume to make it unique?
Answer: Absolutely! Customizing your Phillie Phanatic costume allows you to add a personal touch. From adjusting the size and fit to incorporating creative elements, such as accessories or unique facial expressions, the customization process ensures your costume stands out and reflects your style.
4. Are there alternative methods for creating a Phillie Phanatic costume without sewing?
Answer: Yes, there are non-sewing methods for crafting a Phillie Phanatic costume. Utilize fabric adhesives or hot glue for attaching materials, and opt for pre-made green clothing items to eliminate the need for sewing. These alternatives provide a convenient way to assemble your costume without the need for advanced sewing skills.
5. How can I ensure my homemade Phillie Phanatic costume looks authentic and recognizable?
Answer: Paying attention to details is key. Use reference images to replicate specific features, such as the Phanatic’s eyes, snout, and overall body shape. Prioritize accuracy in color and proportions to ensure your homemade costume captures the true essence of the Phillie Phanatic and is instantly recognizable to fans.
Closing Remarks
Create your very own Phillie Phanatic costume with these helpful tips and tricks. From finding the perfect base suit to adding signature details like the extendable tongue, this DIY project is fun and rewarding. Get creative with materials like fur, feathers, and model magic to bring the beloved mascot to life.
Whether you’re dressing up for Halloween or showing team spirit at a Phillies game, this homemade costume is sure to be a hit. Therefore, grab your crafting supplies and start working on your own Phillie Phanatic masterpiece today!