To make a sash for a costume out of ribbon, fold the ribbon in half, creating a loop with the ends together. Then, sew or glue the ends together to secure the loop.
Adjust the size of the loop to fit around your waist, and trim any excess ribbon if necessary. That’s it! You now have a sash made from ribbon for your costume.
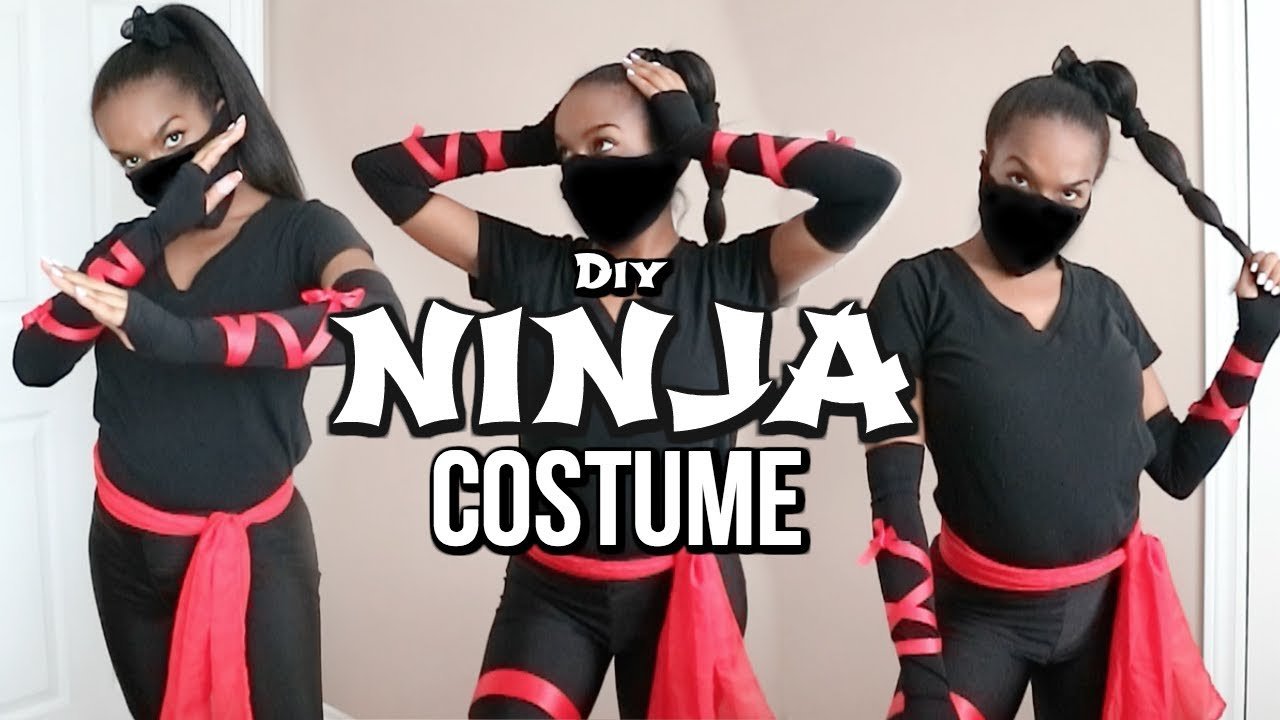
1. Choosing The Right Ribbon
Making a sash for a costume out of ribbon is a fun and creative way to add a special touch to your outfit. The first step in this process is choosing the right ribbon for your costume sash. With so many options available, it’s important to consider a few factors that will ensure your sash stands out and fits the theme of your costume perfectly.
Types Of Ribbon Suitable For Costume Sashes
When it comes to selecting the type of ribbon for your costume sash, there are a few options that work best:
- Satin ribbon: Satin ribbon is a popular choice for costume sashes as it has a luxurious and glossy appearance. It is available in various widths and vibrant colors, making it ideal for adding a pop of color to your costume.
- Grosgrain ribbon: Grosgrain ribbon is a sturdy and durable option that has a ribbed texture. It is often used for sashes that require support or structure.
- Organza ribbon: Organza ribbon is a sheer and lightweight option that adds a touch of elegance to any costume. It is available in a wide range of colors and can be used to create a delicate and ethereal sash.
Factors To Consider When Selecting Ribbon Material And Color
When selecting the ribbon material and color for your costume sash, there are a few factors to consider:
- Theme and style: Consider the theme and style of your costume. Choose a ribbon material and color that complements the overall look and feel of your outfit.
- Comfort: Ensure that the ribbon material you choose is comfortable to wear. Avoid materials that may cause irritation or discomfort, especially if you plan to wear the sash for an extended period of time.
- Durability: Depending on the nature of your costume and how often you plan to wear it, consider the durability of the ribbon. Satin and grosgrain ribbons are generally more durable compared to delicate options like organza.
- Color coordination: Choose a ribbon color that complements your costume. Consider the color palette of your costume and select a ribbon color that either matches or contrasts nicely.
By carefully considering the type of ribbon suitable for costume sashes and the factors mentioned above, you can choose the perfect ribbon to bring your costume sash to life. Remember to have fun with the process and let your creativity shine!

Credit: www.etsy.com
2. Measuring And Cutting The Ribbon
To make a sash for a costume out of ribbon, start by measuring and cutting the ribbon to the desired length. It’s important to be precise to ensure a perfect fit and professional finish.
Determining The Ideal Length For The Sash
Before you start measuring and cutting the ribbon for your costume sash, it’s important to determine the ideal length for the sash. The length of the sash can vary depending on personal preference and the desired look you want to achieve. A longer sash can create a more dramatic effect, while a shorter sash can be more practical and easy to manage.Measuring And Marking The Ribbon
Once you have determined the ideal length for the sash, it’s time to measure and mark the ribbon. To do this, you will need a measuring tape or ruler and a fabric marker or pencil. Place one end of the measuring tape at your desired starting point on the ribbon, and then extend it to the desired length for the sash. Make sure to hold the measuring tape straight and taut to get an accurate measurement.Once you have measured the length, use the fabric marker or pencil to make a small mark on the ribbon at the precise measurement point. This mark will serve as a guide when cutting the ribbon to the desired length.Cutting The Ribbon To The Desired Length
Now that you have marked the ribbon at the desired length, it’s time to cut it. Use a sharp pair of fabric scissors to carefully cut the ribbon along the marked line. Be sure to cut in a straight line to ensure a clean and professional-looking finish.When cutting the ribbon, it is important to make precise and careful cuts to avoid any fraying or uneven edges. If needed, you can use a ruler or straight edge as a guide to help you maintain a straight line while cutting.Once you have made the cut, double-check the length of the ribbon to ensure it matches your desired measurement. If necessary, make any adjustments by carefully trimming the ribbon a little more.Remember, the length of the ribbon will ultimately depend on your personal preferences and the requirements of your costume. By following these steps to measure and cut the ribbon, you will be well on your way to creating a beautiful and perfectly fitted sash for your costume.3. Preparing The Ends Of The Ribbon
To prepare the ends of the ribbon for making a sash for a costume, fold the ribbon in half and make a small chalk mark to keep track of the center. This will ensure that the sash drapes evenly across the body.
Before you begin making a sash for your costume out of ribbon, it’s important to prepare the ends of the ribbon to prevent fraying. This step is essential in ensuring that your sash stays intact and looks polished. There are various methods you can utilize to achieve this.
Preventing Fraying By Heat Sealing The Ends
One effective way to prevent fraying is by heat sealing the ends of the ribbon. This involves using heat to melt the fibers at the cut ends, creating a barrier that prevents unraveling. Heat sealing is a popular choice as it provides a clean and professional finish. To use this method, follow these simple steps:
- Cut the ribbon to your desired length for the sash.
- Light a candle or use a lighter.
- Gently pass the cut ends of the ribbon near the flame, ensuring not to touch the flame directly.
- Hold the ribbon approximately 1-2 centimeters away from the flame for a few seconds to allow the heat to seal the fibers.
- Check the ends of the ribbon to ensure they are well-sealed and smooth. If necessary, repeat the process.
Methods For Heat Sealing Ribbon Ends
There are different methods you can use to heat seal the ends of the ribbon. Some prefer using a candle flame, while others find a lighter easier to handle. Whichever method you choose, make sure to exercise caution and hold the ribbon at a safe distance from the heat source. Take note that the heat-sealed ends may become slightly hardened, so it’s important to trim any excess or rough edges after sealing to maintain a neat appearance.
Alternatives To Heat Sealing For Preventing Fraying
If you prefer not to use heat to seal the ends of your ribbon, there are alternative methods you can explore to prevent fraying. Consider using fabric glue or clear nail polish to create a protective barrier. Apply a small amount to the cut ends of the ribbon and allow it to dry completely. This will help to reinforce the fibers and prevent fraying. Keep in mind that these alternatives might not provide as secure of a seal as heat sealing, so it’s important to regularly check and address any signs of fraying that may occur over time.
By effectively preparing the ends of your ribbon, you can ensure that your costume sash remains durable and free from fraying. Whether you choose to heat seal the ends or utilize alternative methods, taking the time to properly finish your ribbon will contribute to the overall quality and longevity of your costume. Keep this in mind as you embark on your sash-making journey.
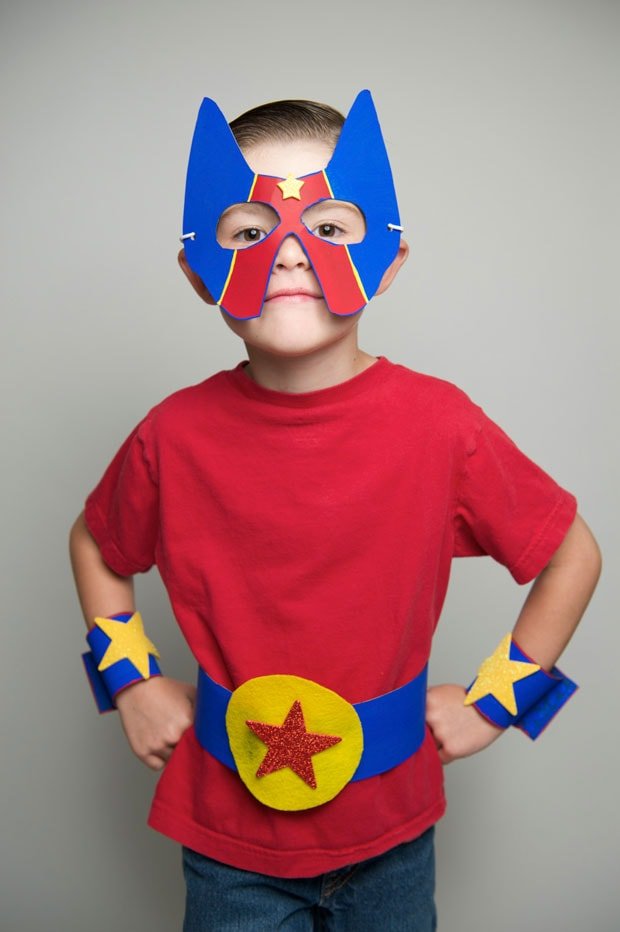
4. Adding Decorative Elements
Discover how to make a sash for a costume out of ribbon with this easy DIY guide. From creating a beauty queen sash for pageants to crafting a princess sash, these step-by-step tutorials will help you add decorative elements to your costume effortlessly.
Choosing Embellishments For The Sash
When it comes to adding decorative elements to your sash made of ribbon, choosing the right embellishments can make all the difference in taking your costume to the next level. Whether you’re creating a sash for a beauty pageant, a cosplay outfit, or a special event, it’s important to select embellishments that align with the overall theme and design of your costume.Here are some tips for choosing the perfect embellishments:- Consider the theme: Think about the character or concept you’re portraying and choose embellishments that enhance the overall look. For example, if you’re dressing up as a princess, you might opt for sparkly rhinestones or delicate lace trim.
- Take color into account: Coordinate the colors of your embellishments with the ribbon to create a cohesive and eye-catching design. You can either match the colors exactly or go for complementary shades to create contrast.
- Balance and proportion: Keep in mind the size of your sash and the size of the embellishments. Too many large or bulky embellishments can weigh down the sash, while too many small ones might get lost in the ribbon. Aim for a balanced and proportional arrangement.
- Consider the material: Choose embellishments that are durable and can withstand the wear and tear of your costume. You don’t want your decorations falling off or getting damaged during your event. Opt for materials such as metal, plastic, or fabric.
- Personalize it: If you’re making the sash for yourself or someone else, consider adding personal touches such as initials, special symbols, or meaningful charms to make it extra special and unique.
Attaching Decorations Securely To The Ribbon
Once you’ve chosen the perfect embellishments for your sash, it’s important to attach them securely to the ribbon to ensure they stay in place throughout your costume’s lifespan. Here are some methods you can use to secure the decorations to the ribbon:- Sewing: If your embellishments are fabric or thread-based, such as patches or appliques, you can sew them onto the ribbon. Use a needle and thread that matches the color of the ribbon and carefully stitch through both the embellishment and the ribbon.
- Gluing: For non-fabric embellishments, such as rhinestones, beads, or charms, you can use fabric glue or a hot glue gun to attach them to the ribbon. Apply a small amount of glue to the back of the embellishment and press it firmly onto the ribbon.
- Velcro or snaps: If you want the option to remove or change the embellishments on your sash, you can attach them using Velcro or snaps. Sew one side of the Velcro or one half of the snap onto the ribbon, and then attach the corresponding side of the Velcro or snap to the back of the embellishment.
- Ribbon loops: If your embellishments have small loops or holes, you can thread a thin ribbon through them and tie the ribbon securely onto the sash. This method works well for lightweight, dangling embellishments.
Creative Ideas For Decorative Elements
When it comes to selecting decorative elements for your sash, the options are truly endless. Here are some creative ideas to inspire you:
|
|
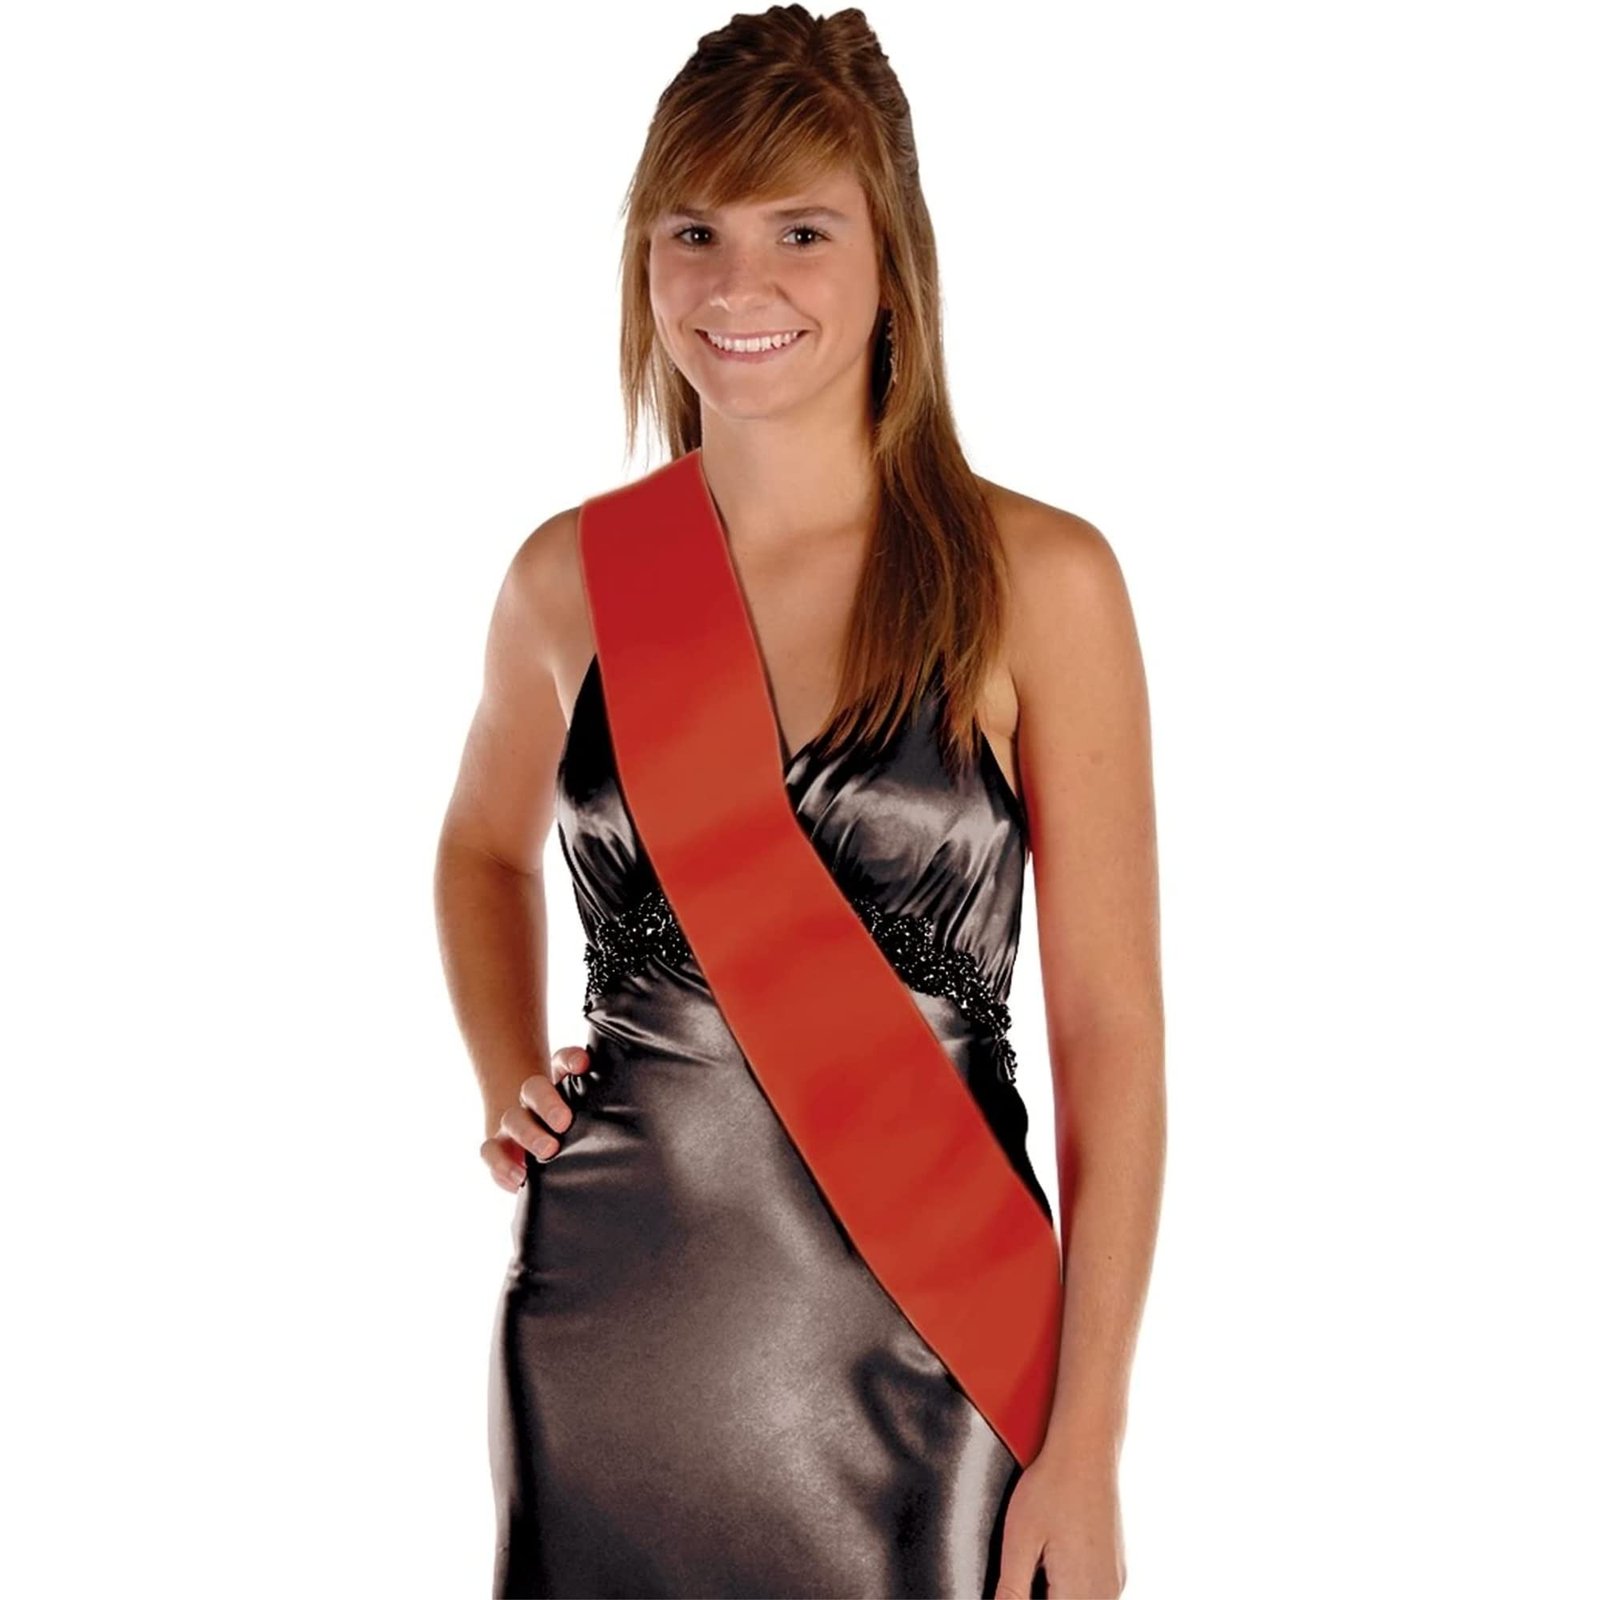
5. Tying The Sash
Learn how to make a sash for a costume out of ribbon with this simple DIY tutorial. Follow the steps to tie the ribbon into a beautiful and elegant sash that will add the perfect touch to your costume.
Different Ways To Tie A Sash For A Costume
When it comes to tying a sash for a costume, there are various methods you can use to create different looks. Whether you want a classic bow, an elegant knot, or a unique twist, the choice is yours. By experimenting with these different styles, you can add a touch of personality to your costume and stand out from the crowd.
Step-by-step Instructions For Tying A Bow And Other Knots
If you’re wondering how to tie a sash for your costume, here’s a step-by-step guide:
- Start by draping the sash over your shoulder or around your waist, depending on the desired look.
- Grab both ends of the sash and cross them over each other, forming an “X” shape.
- Take the end of the sash that is on top and loop it under the other end.
- Hold the ends of the sash and bring them around to the front, creating a loop.
- Take the end of the sash that is now on top and pass it through the loop you formed.
- Pull both ends of the sash tight to secure the bow.
In addition to tying a bow, you can also experiment with other knot styles such as the square knot, the half-bow knot, or the double knot. Each knot creates a different look, so feel free to try them out and see what works best for your costume.
Tips For Achieving A Neat And Secure Knot
To ensure a neat and secure knot, follow these tips:
- Choose a ribbon that is wide enough to create a prominent knot, but not too wide that it becomes difficult to handle.
- Use a ribbon with a smooth texture to make it easier to tie and manipulate.
- Make sure both ends of the ribbon are of equal length before starting to tie the knot.
- Hold the ends of the ribbon firmly and pull them tight to create a secure knot.
- If needed, use a pin or a clip to secure the knot in place, especially if you’ll be moving around a lot.
- Practice tying the knot a few times before wearing the sash to ensure you’re comfortable with the process and achieve the desired look.
By following these steps and tips, you’ll be able to tie a sash for your costume with ease, creating a stunning accessory that perfectly complements your outfit.
6. Special Tips And Tricks
When it comes to making a sash for a costume out of ribbon, there are a few special tips and tricks that can take your project to the next level. In this section, we will explore troubleshooting common issues, enhancing the sash with additional details, and care and maintenance of the ribbon sash.
Troubleshooting Common Issues When Making A Sash
Making a sash may seem like a straightforward task, but sometimes things don’t go as planned. Here are a few common issues you may encounter and how to troubleshoot them:
- Uneven ribbon ends: If you find that the ends of your sash ribbon are uneven, don’t worry. Simply fold the ends to the desired length and secure them with fabric glue or a few stitches.
- Slipping sash: If your sash tends to slip or slide when worn, consider adding a small strip of non-slip fabric or a few strategically placed snaps to keep it in place.
- Visible stitching: If you’re not happy with the stitching on your sash, you can cover it up by adding some decorative trim or ribbon along the edges.
Enhancing The Sash With Additional Details
To make your sash truly stand out, consider adding some extra details. Here are a few ideas to enhance your ribbon sash:
- Embroidery or appliques: Add a personal touch to your sash by embroidering a design or attaching appliques that match your costume theme.
- Rhinestones or beads: For some extra sparkle, glue rhinestones or beads onto your sash. You can create patterns or just scatter them randomly.
- Fabric paint or markers: Get creative by using fabric paint or markers to add patterns, words, or illustrations to your sash. Practice on a scrap piece of ribbon first to ensure the desired effect.
Care And Maintenance Of The Ribbon Sash
To ensure your ribbon sash stays in good condition and lasts for multiple uses, follow these care and maintenance tips:
- Spot cleaning: If your sash gets dirty, gently dab the stain with a cloth soaked in mild soapy water. Avoid rubbing vigorously, as it may damage the ribbon.
- Storage: When not in use, store your sash in a cool, dry place away from direct sunlight to prevent color fading and damage.
- Ironing: If your sash becomes wrinkled, use a low heat setting on your iron and place a thin cloth between the ribbon and the iron to protect it.
By following these special tips and tricks, you can create a beautifully crafted sash that complements your costume and adds that extra touch of elegance or fun. Don’t be afraid to experiment with different techniques and embellishments to make your sash truly unique!
Frequently Asked Questions For How To Make A Sash For A Costume Out Of Ribbon?
How Do You Make A Sash For A Costume?
To make a sash for a costume, fold a ribbon in half and mark the center. One half of the sash will drape across the front of the body. Sew a running stitch in the center of the ribbon and gather it tightly.
Knot it off and cut a piece of ribbon for the ties.
How Many Yards Of Ribbon Do I Need For A Sash?
You will typically need 3 to 4 yards of ribbon to make a sash for a costume. It is important to consider the width and length of the sash you want to create.
How Do You Cut Fabric For A Sash?
To cut fabric for a sash, follow these steps: 1. Measure and mark the desired length of the sash on the fabric. 2. Use fabric scissors to carefully cut along the marked line. 3. Fold the fabric in half lengthwise to create a double-layer sash.
4. Use a sewing machine or hand stitching to sew along the edges to secure the fabric. 5. Press the sash with an iron to remove any wrinkles.
How Wide Should A Sash Be?
A sash should be around 4 to 6 inches wide.
Conclusion
Creating a sash for a costume out of ribbon is a simple and fun DIY project. All you need is a few supplies and a little bit of creativity. By following the steps outlined in this blog post, you can make a beautiful sash that will add the perfect finishing touch to your costume.
So go ahead, unleash your inner designer and create a unique and eye-catching sash using ribbon!